Running Cactus
| Author: | Brant C. Faircloth |
|---|---|
| Copyright: | This documentation is available under a Creative Commons (CC-BY) license. |
Modification History
See Running Cactus
Purpose
Cactus is a program for aligning genomes together (i.e., genome-genome alignment). More details are available from the cactus github page. Cactus requires heterogenous nodes for different types of computations that it is running, and we’ve found that this can sometimes be hard to gin up when working with typical university HPC systems. AWS comes to the rescue in this case - you can setup and pay for the computation that you need on whatever type of nodes you need to join together to make your compute cluster. What follows are instructions on how we do this (built from the current Cactus AWS guide [see the wiki]).
Preliminary Steps
- Create an account for AWS. We have a somewhat complicated setup, but you basically need an account, and you need to create an IAM user that has permission to run EC2 instances. For that IAM user, you also need their ACCESS_KEYS.
- For the IAM user, go to
IAM > Users (side tab) > Security Credentials. Create an access key and be sure to copy the values ofAWS_ACCESS_KEY_IDandAWS_SECRET_ACCESS_KEY. You’ll need these later. - It’s very likely you will need to increase your service limits on AWS. In particular, you’ll probably need to request an increase to the minimum number of “Spot”
c4.8xlargeinstances you can request (default is 20), and you’ll probably also need to request an increase to the minimum number of “On Demand”r3.8xlargeinstances you can run (default is 1). You start this process by going to the EC2 console and clicking on “Limits” in the left column of stuff. It usually takes a few hours to a day or so.
Steps
On whatever local machine you are using (e.g. laptop, desktop, etc.), you need to create an SSH keypair that we’ll use to connect to the machine running the show on AWS EC2. We’ll create a keypair with a specific name that lets us know we use it for AWS:
# create the key
ssh-keygen -t rsa -b 4096

# enter an appropriate name/path

Generating public/private rsa key pair.
Enter file in which to save the key (/home/me/.ssh/id_rsa): /home/me/.ssh/id_aws
Enter passphrase (empty for no passphrase):
Enter same passphrase again:
Your identification has been saved in /home/me/.ssh/id_aws.
Your public key has been saved in /home/me/.ssh/id_aws.pub.
The key fingerprint is:
SHA256:XXXXXXXX me@XXXXXXXXX
Once that’s done, we need to make the pubkey (
*.pub) an “authorized key” on our local machine, enablessh-agentto automatically remember the key for us, and set some permissions on our files so everything is happy:# create an authorized_keys file (if you don't have one) touch ~/.ssh/authorized_keys # set correct permissions on that chmod 0600 ~/.ssh/authorized_keys # put the contents of our id_aws key in authorized_keys cat ~/.ssh/id_aws.pub >> ~/.ssh/authorized_keys # set the correct permissions chmod 400 id_rsa # add the key to ssh-agent so we don't have to enter our password # all the time eval `ssh-agent -s` ssh-add /home/me/.ssh/id_aws
Return to AWS via the web interface. Go to
EC2 > Key Pairs (side panel) > Import Key Pair (top of page). Paste in the contents of yourid_aws.pubto the box and give the key a name (I also call thisid_aws). ClickImport.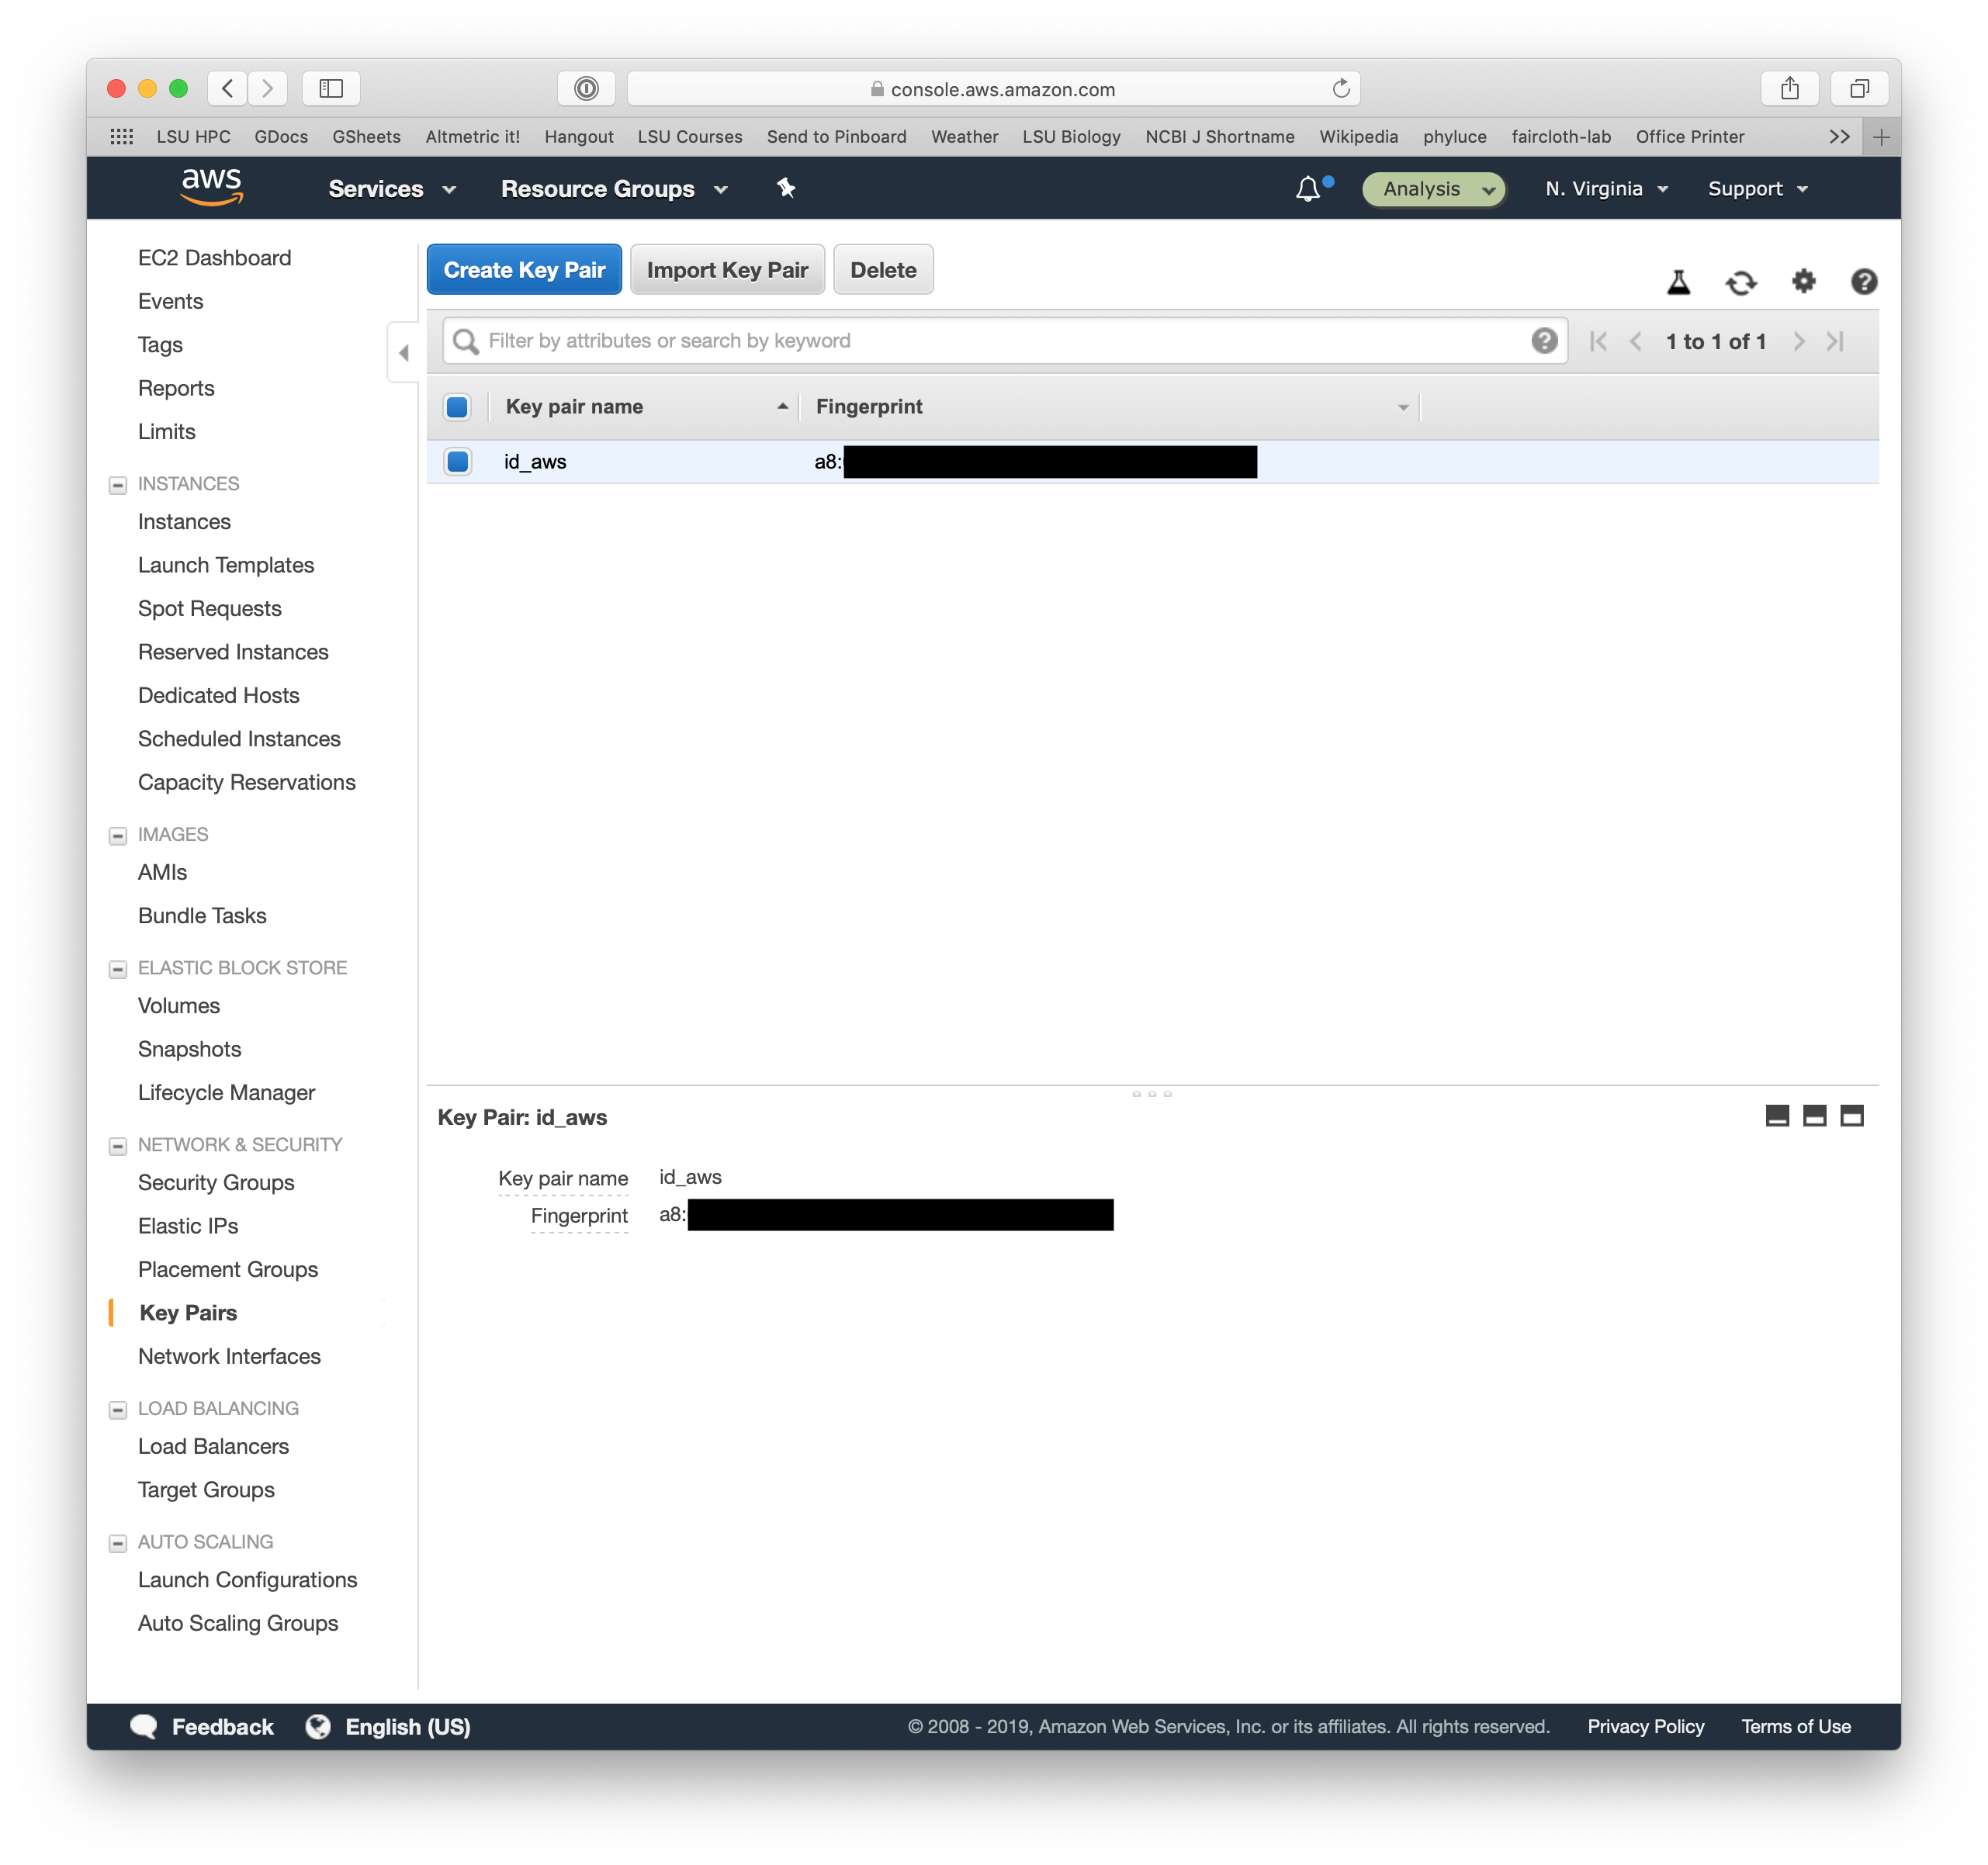
Now, we need to install the software needed to run Cactus on our local machine (@local). We’re going to do that in a conda environment, because we use conda all the time and it’s pretty easy to create new/test environments. You can also use virtualenv. FYI, this differs a little from the cactus website. Go ahead and setup the environment and install some needed stuff:
# make the conda environment with python 3.6 as default
conda create -n cactus python=3.6 awscli

# activate the environment
conda activate cactus

# toil 3.24.0 seems to have problems on AWS, so install 4.1.0
pip install "toil[aws]"

# check the cactus repository out to some location on @local
git clone https://github.com/comparativegenomicstoolkit/cactus.git --recursive && cd cactus

# checkout a specific tag (e.g. v1.0.0) if so desired
git checkout v1.0.0

# install cactus
pip install --upgrade .
Run the AWS configuration utility and follow the instructions and enter the
AWS_ACCESS_KEY_IDandAWS_SECRET_ACCESS_KEYwhen prompted. Also enter the relevant zone in which you want to run your EC2 instances:aws configure
We should basically be able good to go now, go ahead and launch what’s known as the “leader” instance. Be sure to adjust your availability zone to whatever you want to use.
toil launch-cluster -z us-east-1a --keyPairName id_aws --leaderNodeType t2.medium --leaderStorage 1000 --nodeStorage 250 faircloth-cactus
Warning
You need to think about which region to use - in my case, I learned that
us-east-2will NOT work because the region needs to have SimpleDB available. Here, we’re simply usingus-east-1because it has everything.Warning
Also, be sure that the
clusterNameparameter (“faircloth-cactus”) in the above, comes LAST in the arugment list. This argument is positional, and it looks like the cluster you create will not receive a name if the position of the arugment is incorrect. This will cause downstream problems.Note
We’re passing a parameter that will mount a 1 TB EBS volume on the leader node using the
--leaderStorageparameter. If you need another amount of storage, adjust. Otherwise, exclude the entire parameter--leaderStorage 1000. We’re doing the same for the each node with--nodeStorage 250giving all worker nodes 250 GB EBS Storage.This will spin up a
t2.mediumnode, which is relatively small, and we’ll start working on AWS through this node. It can take some time, and you might want to monitor progress using the web interface to EC2. Toil should let you know when the leader node is ready.While the instance is starting and validating, we need to sync our data for analysis. In my opinion, it’s easiest to do this using S3. Additionally, cactus can read
s3://URLs. So, put the fastas you want to sync (easiest if unzipped) in a directory on your local machine. Then create an S3 bucket to hold those:aws s3api create-bucket --bucket faircloth-lab-cactus-bucket --region us-east-1
Warning
You may want to put your genomes in a S3 bucket in the same region - this will make things faster. As above, we’re using
us-east-1.Now, sync up the files from your local machine to S3. This may take a little while, but on your local machine, run:
aws s3 sync . s3://faircloth-lab-cactus-bucket/
Once our data are uploaded and the instance is spun up, we can log into the instance on EC2
toil ssh-cluster -z us-east-1a faircloth-cactus
Once logged into the leader node, we need to install cactus and some helper programs on the “leader”:
# update the packages in the package mgr
apt update
apt install -y git tmux vim

# create a directory to hold our analysis
mkdir /data && cd /data

# create a `cactus-env` virtual env in this folder
virtualenv --system-site-packages -p python3.6 cactus-env

# activate that virtual env
source cactus-env/bin/activate

# get the cactus source from github
git clone https://github.com/comparativegenomicstoolkit/cactus.git  --recursive

# install that in the cactus-env virtual env
cd cactus
git checkout v1.0.0
pip install --upgrade .

# change back to our base analysis directory
cd /data
Now, create a new file in
/datanamedseqFile.txtusingvim, and paste the required information into it. Be sure to adjust for your particular problem - this example uses the five genomes above and theirs3://URLs:# Sequence data for progressive alignment of 5 genomes # all are good assemblies (((Anolis_sagrei:0.314740,Salvator_merianae:0.192470):0.122998,(Gallus_gallus:0.166480,Taeniopygia_guttata:0.116981):0.056105):0.133624,Alligator_mississippiensis:0.133624):0.0; Anolis_sagrei s3://faircloth-lab-cactus-bucket/Anolis_sagrei.fna Salvator_merianae s3://faircloth-lab-cactus-bucket/Salvator_merianae.fna Gallus_gallus s3://faircloth-lab-cactus-bucket/Gallus_gallus.fna Taeniopygia_guttata s3://faircloth-lab-cactus-bucket/Taeniopygia_guttata.fna Alligator_mississippiensis s3://faircloth-lab-cactus-bucket/Alligator_mississippiensis.fna
Before spinning up the cactus run, we need to estimate what sorts of resources we’ll need cactus to use. I did that following the guide from the cactus wiki page:
The cluster will automatically scale up and down, but you'll want
to set a maximum number of nodes so the scaler doesn't get overly
aggressive and waste money, or go over your AWS limits. We typically
use c4.8xlarge on the spot market for most jobs, and r4.8xlarge
on-demand for database jobs. Here are some very rough estimates of
what we typically use for the maximum of each type (round up):

* N mammal-size genomes (~2-4Gb): (N / 2) * 20 c4.8xlarge on the spot market, (N / 2) r3.8xlarge on-demand

* N bird-size genomes (~1-2Gb): (N / 2) * 10 c4.8xlarge on the spot market, (N / 4) r3.8xlarge on-demand

* N nematode-size genomes (~100-300Mb): (N / 2) c4.8xlarge on the spot market, (N / 10) r3.8xlarge on-demand

* For anything less than 100Mb, the computational requirements are so small that you may be better off running it on a single machine than using an autoscaling cluster.
Once the file is created, you are ready to spin up the cactus run
# start tmux so we can exit the session while leaving cactus running
tmux
# make sure we're in the right place
cd /opt/analysis
# start run
cactus \
    --nodeTypes c4.8xlarge:0.6,r3.8xlarge \
    --minNodes 0,0 \
    --maxNodes 20,1 \
    --nodeStorage 250 \
    --provisioner aws \
    --batchSystem mesos \
    --metrics aws:us-east-1:<your-name-here> \
    --logFile cactus.log \
    --rotatingLogging \
    seqFile.txt output.hal
You can exit the tmux session and the leader node.
If that runs successfully, there will be a
output.halfile in/data.You can download that
output.halfile using toiltoil rsync-cluster -p aws -z us-east-1b faircloth-cactus :/data/output.hal .